
If you're wondering why your pressed flower petals aren't coming out completely flat, it may have to do with the how tightly you are closing your flower press. We make our own wooden flower presses and it is what we use to press all of our flowers. If you would like to see our YouTube Video on how we make our presses, click the link here.
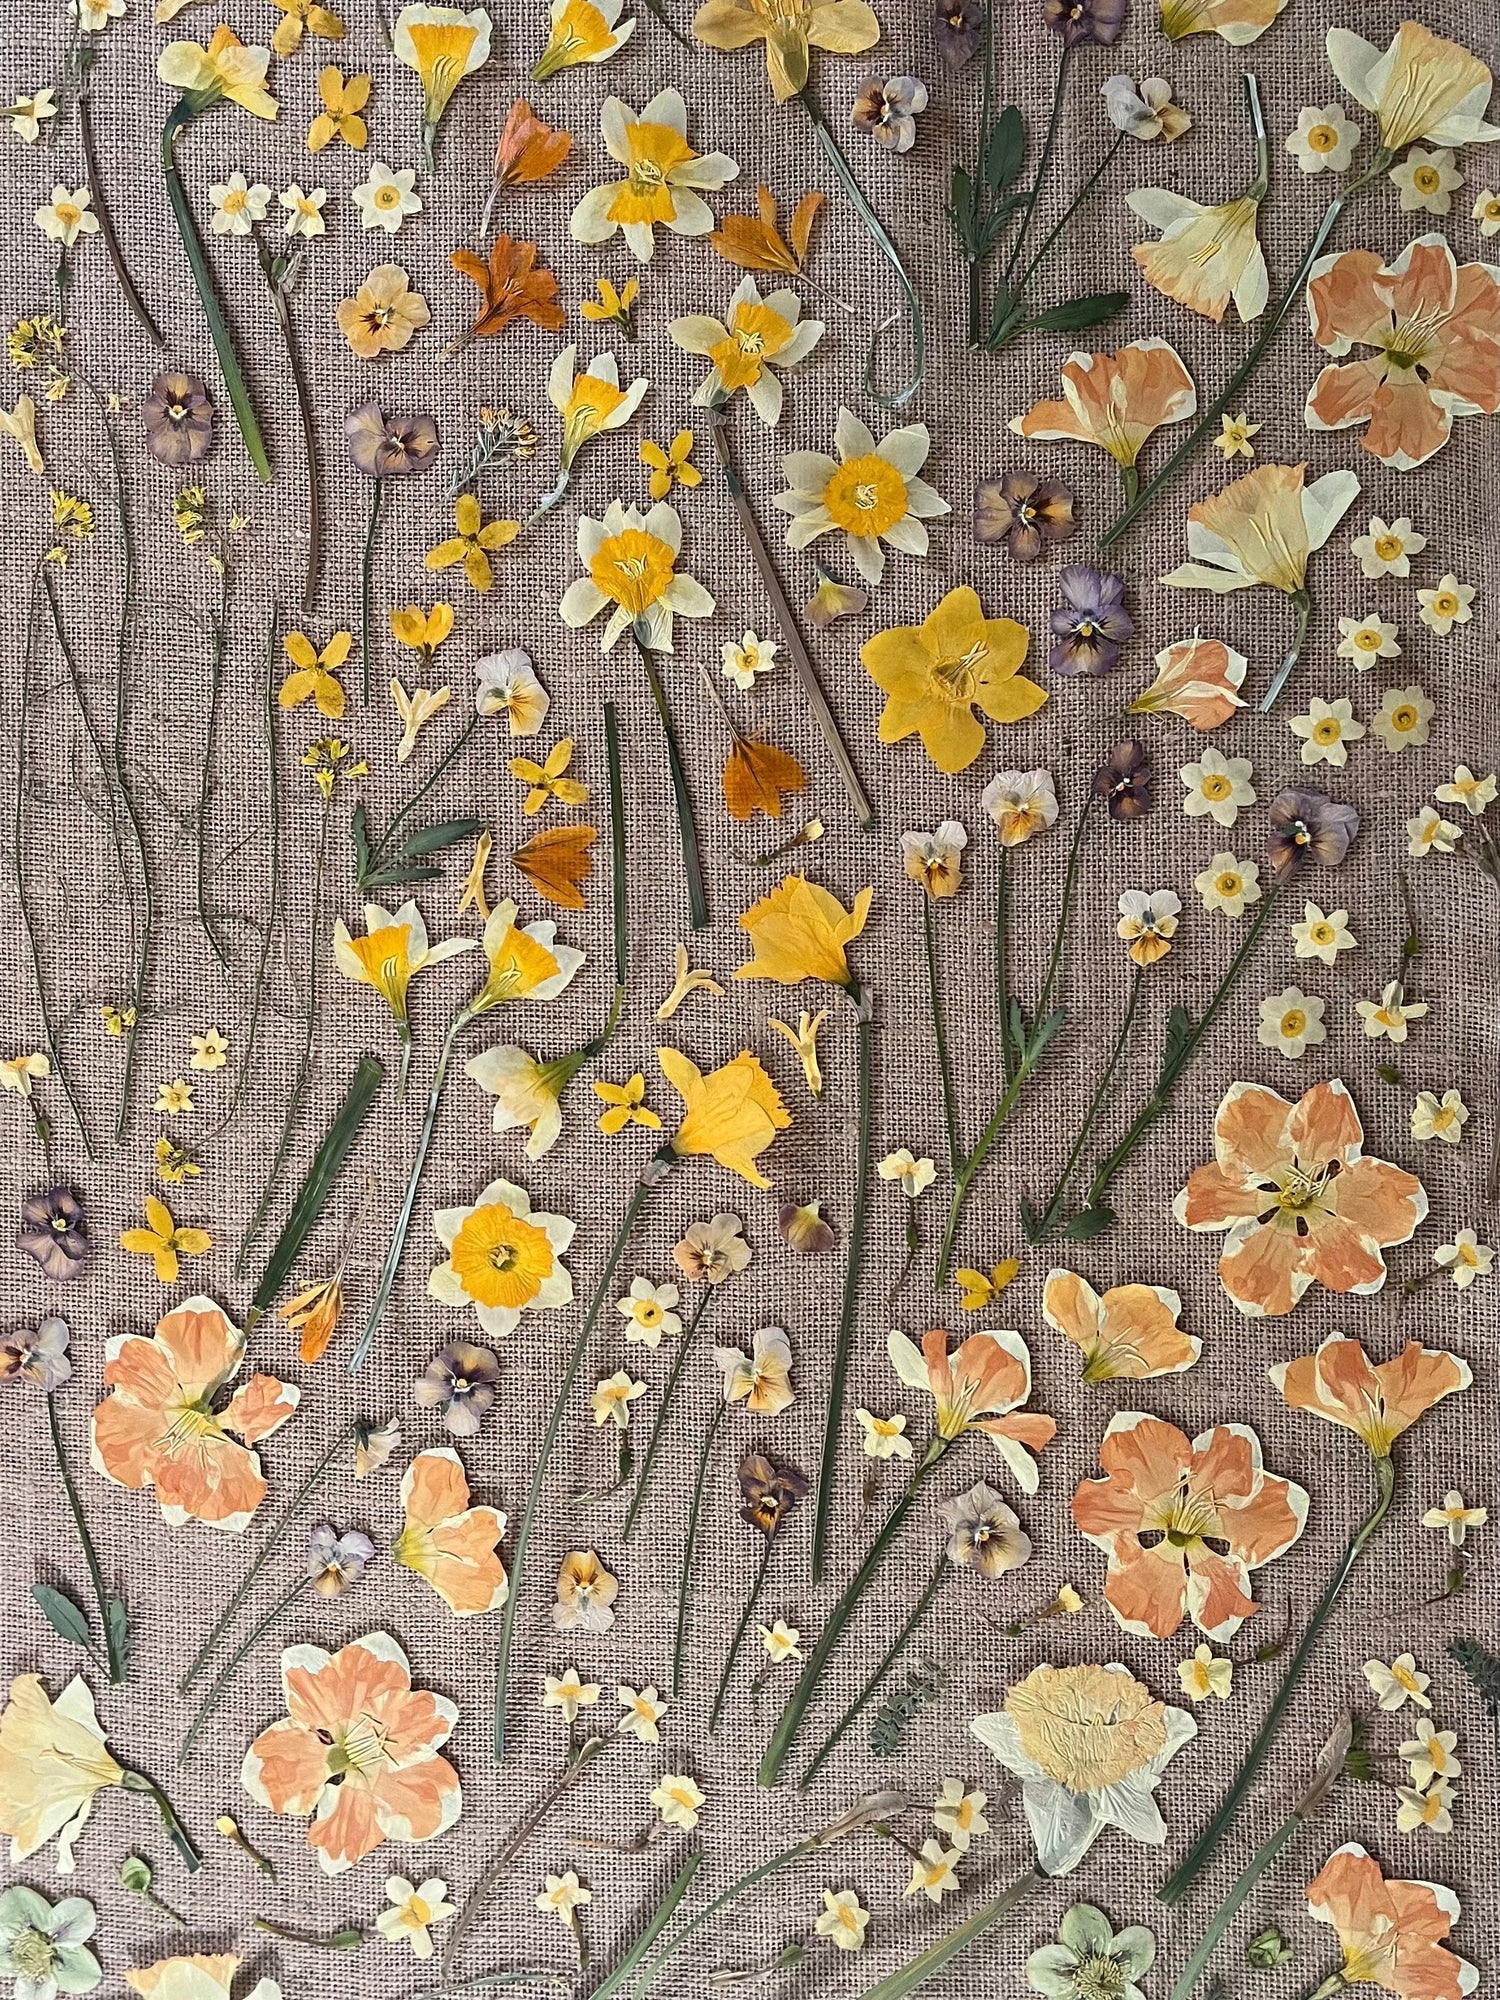
The cosmos in the picture below are a good example of a press that wasn't tightened enough in the initial phase of pressing. If you want a completely flat petal, without the crinkles, it takes a bit of press tightening finesse. But please remember that perfection is the enemy of progress, so don't hyper focus on getting all of your flowers perfectly flat out of the press. We like diversity in our pieces and enjoy mixing crinkled petals with flat petals, meaning, we'd still totally use these cosmos!

There are four contributing factors to getting a good press on a flower:
- Press Pressure, meaning how much you tighten the press, which we will address in this blog post.
- Making sure flowers of even thicknesses are placed together in a press. Don't place a very thick flower next to a super thin flower on the same page in a press. Place like with like when flower thickness is concerned.
- Changing out the paper which helps to more quickly remove the moisture from the flower.
- Preparation of the flower before it goes into the press.
Typically, when you first put a flower in the press, the flower still contains a lot of moisture. If a cut flower were left out of water overnight, the flowers and the petals would become droopy, but most flowers wouldn't yet shrivel and dry out, meaning the petals would still be very pliable. This means we like to err on the side of a gently tightened press on the first and sometimes second day of pressing. I like to gently rest the palm of my hand on the top of the flower press and tighten it to that pressure. We will check the press periodically throughout the day and continue to tighten it as necessary, but we will always make sure that the press isn't completely cranked down at any point during the first few days of pressing. This allows the flowers to release their moisture more slowly as to not cause browning, and the petals will remain soft enough to still get a nice even press on them if you tighten the press a bit tighter on day two. However, if you leave the press too loose for too long, air will get in between the paper you are pressing the flowers on and cause the petals to shrivel, like a raisin. Again, finesse.
If you crank a press closed too tightly on the initial phases of pressing, the flower may lose moisture too quickly which can cause premature browning because it will be sitting in overly wet paper, kind of like a baby sitting in a wet diaper for too long. Very wet flowers may bruise as well if you're putting too much pressure on them too soon. Think about dropping an apple and how it bruises from the impact - flowers can behave similarly when too much pressure is applied too soon when they still are holding onto a lot of moisture. Flowers such as peonies, lisianthus, and dahlias very much benefit from releasing their moisture, more slowly, rather than all at once. Unless you want to change paper multiple times on the first day to deal with the moisture that's coming out of the flower more quickly than the paper can absorb it, we recommend erring on the side of a looser press during the first few days of pressing. For us, pressing flowers isn't a fast process. If it were, we'd be writing about how to microwave your flowers rather than pressing them.
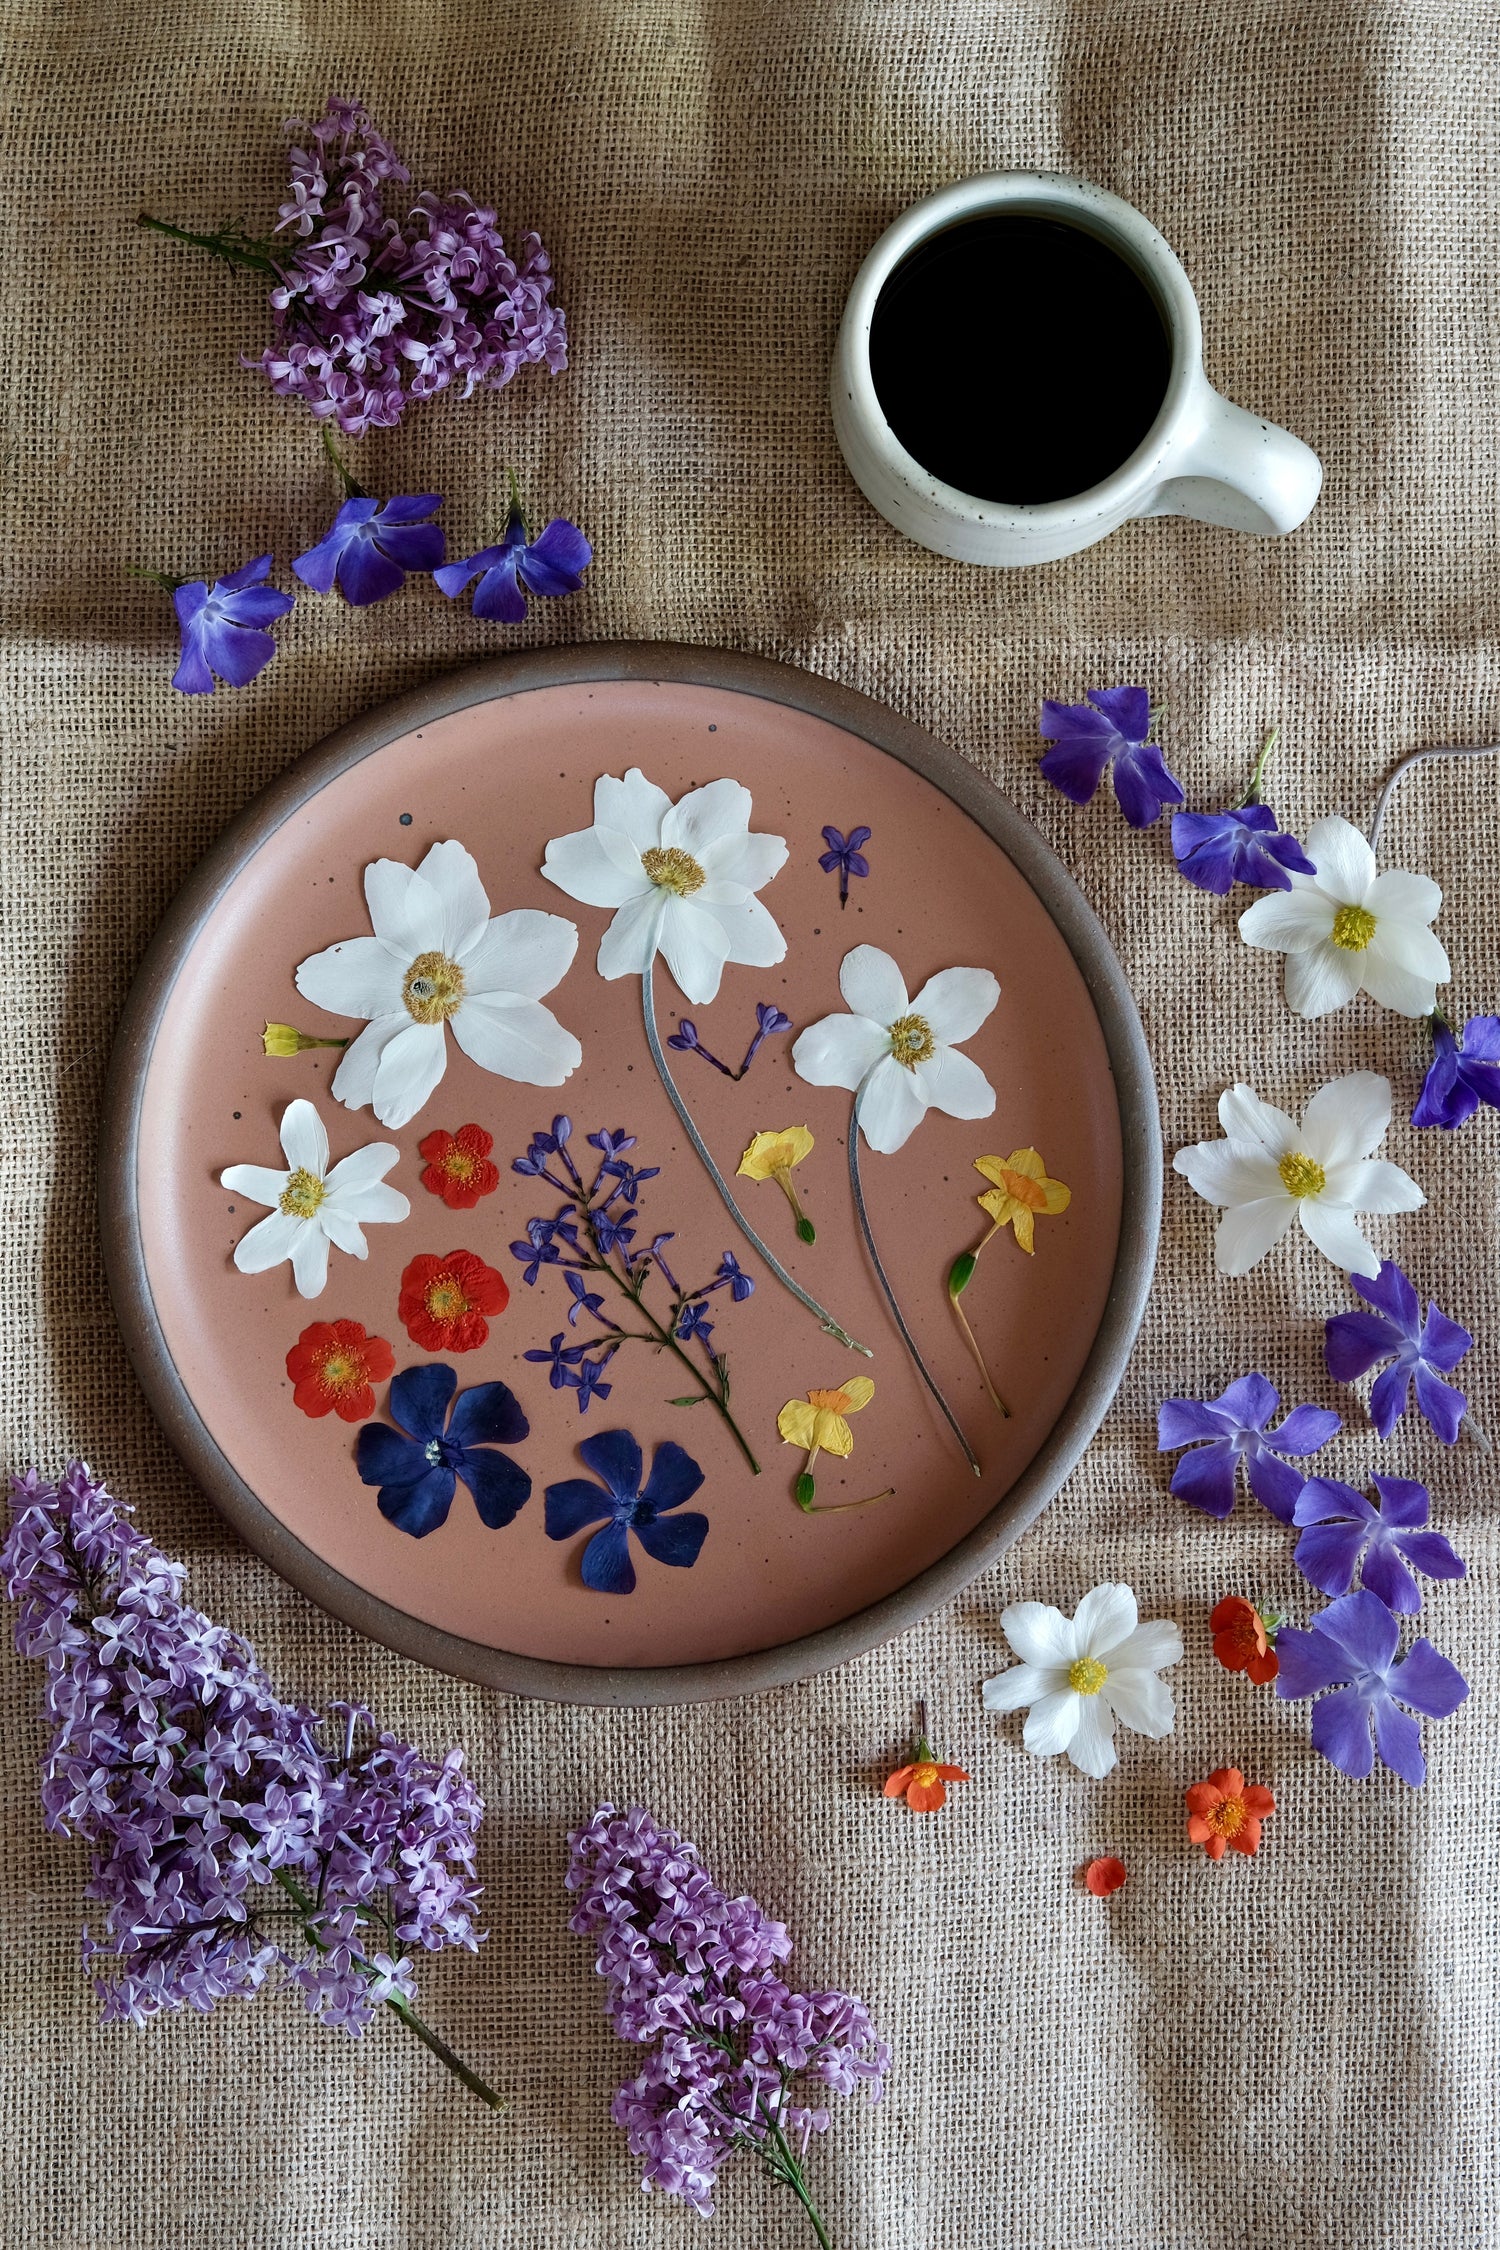
Here's an example of some cosmos that got a good press, keeping the flower and the petals beautifully flat and their colors vibrant.

We don't really like to start cranking the press too tightly until day 3 of pressing, sometimes more, sometimes less, depending on the types of flowers and how must moisture they hold. You'll get a feel for this the more you press. Once the flowers become more naturally flat, we will add more pressure when tightening the press. Too little pressure and the petals will crinkle, too much pressure and you may force too much moisture out, too soon.
Before ending this blog post, I want to address sunflowers as they are the exception to this rule. Sunflowers are tricky. There's more to pressing them than what I will say in this post, but once you get through the first few days of flattening their centers, start applying more and more pressure or else the petals will all fall off the flower when you pick it up. In order to secure the petals, you kind of need to trap them in between the sunflower centers on the back and front. The backs and front of the sunflower kind of acts like the glue to hold the petals securely in their place. If there's not enough pressure being applied, as things dry they shrink, and this can result in the petals completely falling out of the centers when you remove them from the paper and then you have to glue them all back together. Gluing sunflowers back together is definitely possible, but there's a right way and a wrong way to do it which is information I'll save for another post. These sunflowers could have probably taken a bit of more pressure on the third and fourth days of pressing (the petals are a bit crinkled), but overall I'm satisfied with the look of them and they will give the piece we use them in some diversity.

I hope this post helps in your pressing endeavors. I swear the more we learn about pressing flowers, the less we feel we know, so don't get frustrated when things don't go right on the first second or even tenth go around. We are still learning and we still don't always get things right! Pressing flowers, like anything you learn to do is a journey. Keep growing and keep pressing!

4 comments
Hi Rebecca. Shopify for some crazy reason does not let us respond to comments on blog posts. Super weird and super annoying. It definitely is not a simple craft. Lots of time and errors that go into it. We try to remove the wet paper and place the flowers on dry paper but sometimes this is not possible depending on the flower. If that is the case, just place new paper on the flowers and eventually they will become dry enough and then you can place all the flowers on a dry piece of paper. Sorry this is so late. :)
Hi Rebecca. Shopify for some crazy reason does not let us respond to comments on blog posts. Super weird and super annoying. It definitely is not a simple craft. Lots of time and errors that go into it. We try to remove the wet paper and place the flowers on dry paper but sometimes this is not possible depending on the flower. If that is the case, just place new paper on the flowers and eventually they will become dry enough and then you can place all the flowers on a dry piece of paper. Sorry this is so late. :)
omg
This information is great! Amazing!
I’m still trying to master the art, it’s not as simple as one may think.
I have a question 🙋♀️ When you change the paper, do you remove the flower from the wet paper it’s on, or just the layers on top and underneath?
Thank you 😊